

So, it’s time to finally hang your art and we’ve got this easy step-by-step guide to help you get the job expertly done!
What You’ll Need
* Nails/screws (one for each picture)
* Pencil
* Hammer/drill
* Spirit level ruler
* Toothpaste
Toothpaste?! Yup, you read it right! You’ll see why.. 😉
Follow These Steps
Follow these simple steps carefully, and you’ll have your artwork up on your wall in just a BLINK OF THE EYE!
1. ALIGN
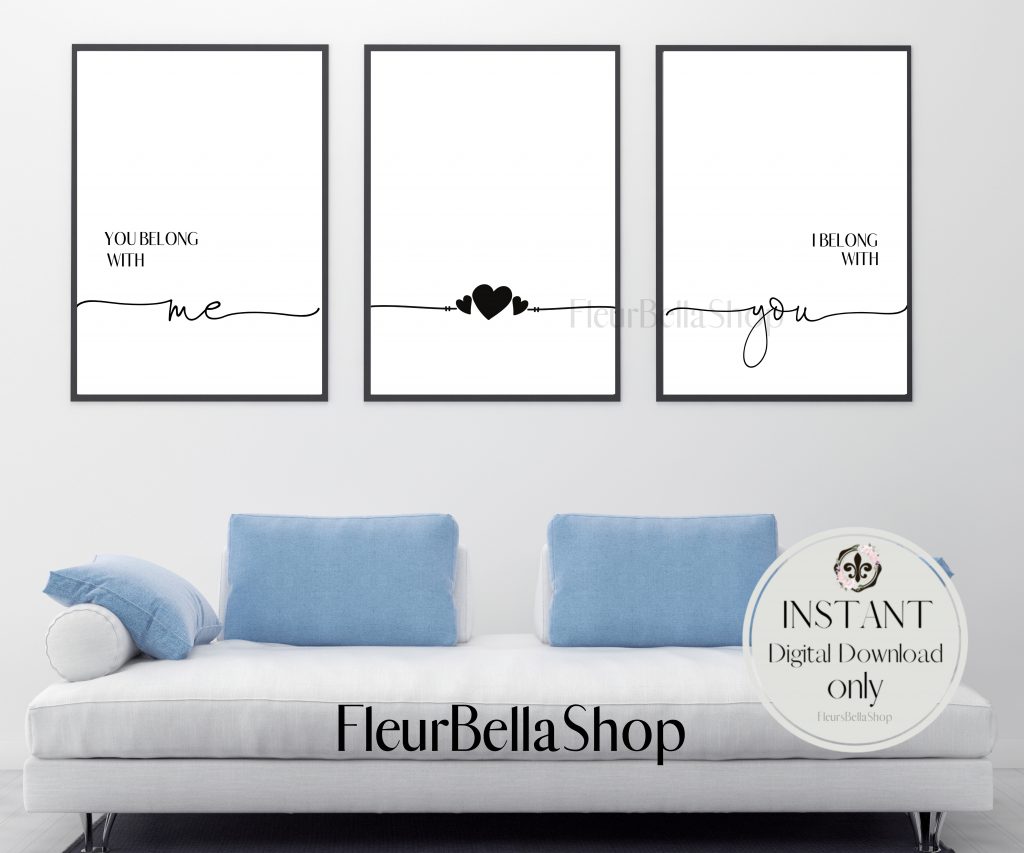
Always start with the center picture if you’re doing a 3-piece.
2. SPREAD TOOTHPASTE
Spread a small dot of toothpaste on the embossed circle of the area you have for the hanger.
3. MARK THE WALL
Press the frame to the wall, the toothpaste will then stick to the wall. COOL HUH?!
4. DRIVE THE NAIL
Place the nail where the toothpaste is, and nail it.
5. LEAVE ENOUGH SPACE BETWEEN THE PICTURES
You’re probably wondering how far apart you should hang the pictures!
* Width: for all pieces we recommend leaving 1″-3″ space between each picture when hung, for the best airy but tied-together look!
6. REPEAT
Repeat for the rest of the panels on alternate sequence (middle, left, right, left, right). Use your spirit level to ensure your panels are aligned.
IMPORTANT TIP:
Keep the distance between all pictures the same, to achieve a cohesive look.
And there you have it,, wasn’t that easy?
Have any questions of design tips you want to share, leave a message in the comments and don’t forget to sign up for our to hear about new giveaways and our latest pieces.
AND, if you’re looking to start your own etsy shop, grab your 40 FREE Listings here and join the fun!
Have a beautiful day!

One Reply to “Hanging your art–Step by Step Guide”